Knitting Machine Troubleshooting Hints
Pre Season Sale On Christmas Stocking Kits - Free Shipping
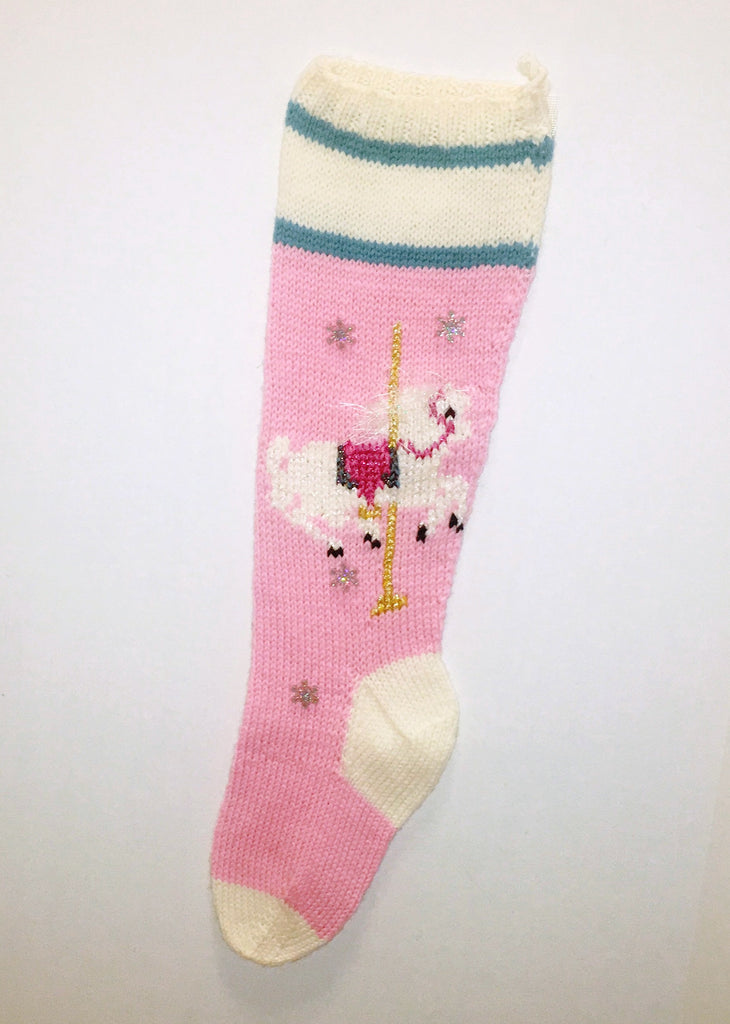
Pre Season Sale On Christmas Stocking Kits - Free Shipping! During August and September 2023 we will be offering free shipping on all of our own Christmas Stocking Kits (Ann Norling Kits not included). Offer starts August 1st and ends October 1st. Now is the time to order that Christmas Stocking Kit or Finished Christmas Stocking because we are offering a Pre-season free shipping discount on any of our Christmas Stocking Kits and selected finished Christmas Stockings. These are brand new kits and we are trying to get the season started a little early so better hurry, sale ends October...
Shipping Cost

No Package Shipments to Australia via USPS
Export Service To Australia USPS Package Service To Australia Discontinued!

As of September 3rd of last year, the US postal service has discontinued package delivery to Australia until further notice due to the Corona Virus. WE have converted all Australia shipments to UPS Worldwide Saver service. Sorry for the inconvenience.
Brother Punch Card Reader Problems

Brother knitting machines have an ongoing punch card reader problem (timing belt/punch card reader mechanism) that can occur with Brother (and KnitKing) punch card machines. Especially vulnerable is the KH-260 (or KnitKing PC) . It mostly occurs when the patterning mechanism has not been used in a while or has not been serviced for some time. It needs to be kept oiled. Cleaning and lubricating your machine should be done regularly at least once a year and more often if your machine is used often as it is susceptible to lint and yarn fuzz contamination. Oiling the timing belt sprocket...
Customer Chat - Knit Quick Hat Machine - Loops & Threads
Knit Quick Hat Knitting Machine